Zedmed v35.10.2 and later can be integrated with HealthLink SmartForms by installing the Zedmed HealthLink Forms application. This application allows Zedmed to send referrals and documents using SmartForms, and prepopulate those forms with patient and referrer information.
Zedmed HealthLink Forms requirements
The following are required before installing the Zedmed HealthLink Forms software.
Check that Zedmed v35.10.2 or later is installed
Follow the Zedmed upgrade guide if you are running an older version of Zedmed.
Check you have the HealthLink client installed
To use Zedmed's SmartForms integration, you must have the HealthLink Client installed. By default, HealthLink is installed on the server in the C:\HLINK directory. You may already have this installed if you have a HealthLink account. We recommend you install the HealthLink Client on the same server as Zedmed. If it is on a different server, it must be able to communicate with the Zedmed server.
If you do not have the HealthLink client installed, the Practice Manager should call HealthLink Support on 1800 125 036 and explain that you need the HealthLink client installed and configured for Zedmed. On this call, HealthLink Support will also provide a connection password and can assist with the configurations.
Firewall settings
To ensure full functionality of your Zedmed features, add endpoint.zedmed.com.au to the firewall’s allow list on the Zedmed server.
Step 1 - Download Zedmed HealthLink Forms
To download Zedmed HealthLink Forms:
- Go to the Zedmed website https://www.zedmed.com.au.
- Log in using the Login button on the top right.
- Select the Client Login Area folder.
- Select the Software folder.
- Select the folder with the Current Zedmed release.
There you will see ZedmedHealthLinkFormSetup.36.1.0.exe or a later version - Select the current version of Zedmed HealthLink Forms.
The file will download to your browser’s default location.
Step 2 - Install Zedmed HealthLink Forms
You can now install the current version of Zedmed HealthLink Forms.
To perform the installation:
- Double-click the ZedmedHealthLinkFormsSetup.36.x.x.exe file.
The Setup Wizard will open.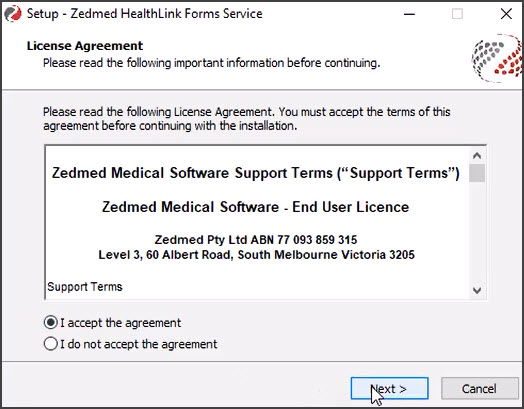
- Accept the agreement and select Next.
The Installation Folder screen will open.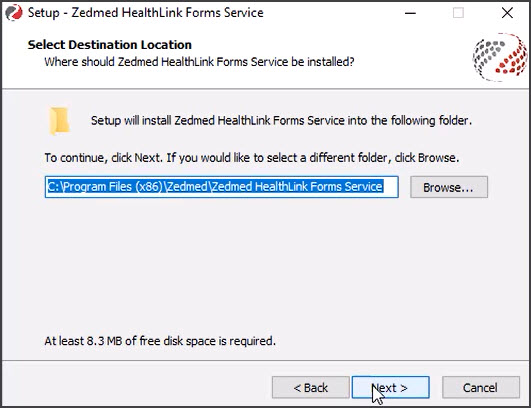
- Confirm the location and select Next.
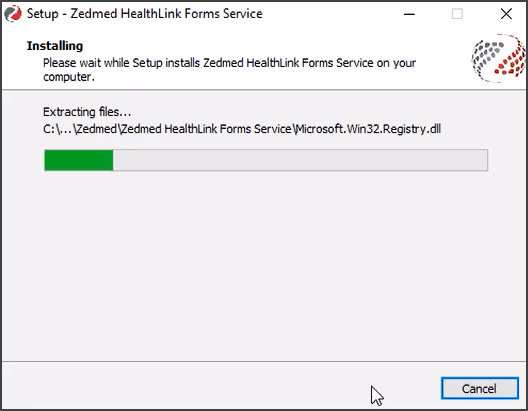
- Select Finish on the Complete Installation screen.
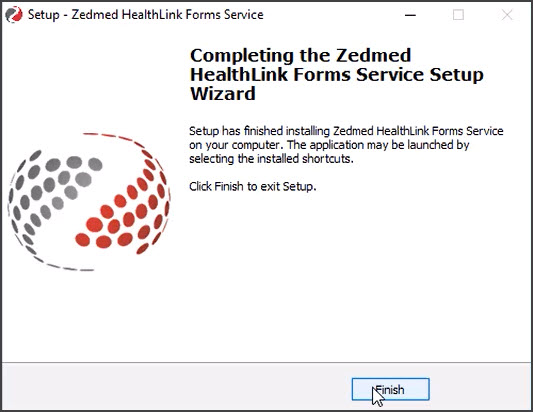 Zedmed HealthLink Forms is now installed.Next, you will need to configure Zedmed as explained in the next section.
Note: The Zedmed HealthLink Forms service uses port 9803 by default. If you want to use a different port (or review how the host/IP name is used), read the advanced section. This will explain how to open and edit the Zedmed HealthLink Forms service configuration file.


 Zedmed HealthLink Forms is now installed.Next, you will need to configure Zedmed as explained in the next section.
Step 3 - Configure Zedmed for SmartForms
Zedmed needs to work with both the Zedmed HealthLink Forms software and the HealthLink SmartForms client and know where the services for these applications are running.
To configure Zedmed:
- Open Zedmed's Clinical Records.
- Select Tools > Global Options.
- Select the Communications tab.
- Select the HealthLink Smart Forms tab.
Do not select Enable Healthlink until you have filled in the fields.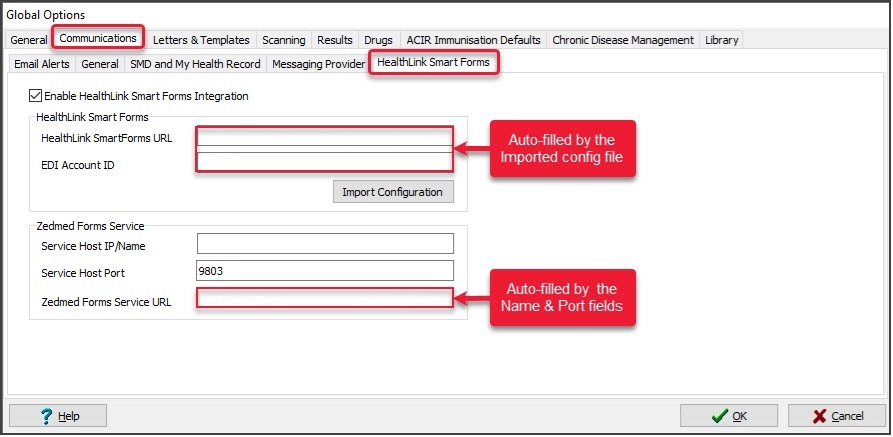 The HealthLink SmartForms URL and EDI Account ID fields will be populated when you import the HealthLink configuration file.
 - Import Configuration.To import the HealthLink configuration file:
For multiple Zedmed servers: If your practice has a HealthLink Client setup for multiple Zedmed servers, the HealthLink config file (hms.config.xml ) will have an entry for each Zedmed server's profile, so you need to make a copy of the file that only contains an entry for the Zedmed Installation you are importing the file into. To learn more, see the Advanced section below.
- Select the Import Configuration button.
Windows Explorer will open at the default HealthLink folder C:\HLINK. - Select the hms_config.xml file.
- Select Open to load the file.
The Enter HealthLink password dialog will open. - Enter the HealthLink connection password and click OK.
To get the connection password, the Practice Manager must contact Healthlink at 1800 125 036 option 4 and speak with one of the Helpdesk representatives.
Note: If you make any changes or corrections you will need to re-import the file again.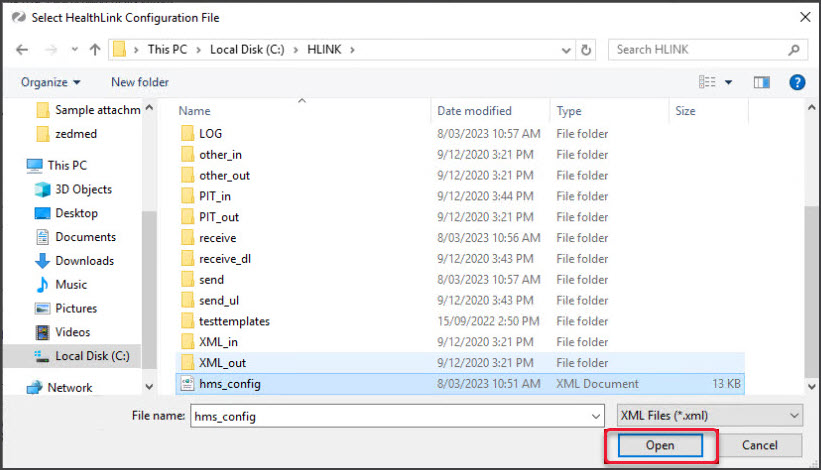
- Select the Import Configuration button.
- Enter the Service Host IP/Name
This is the publically accessible Hostname or IP address of the machine running the Zedmeds Forms service (where you installed the Zedmed HealthLink SmartForms application). Never use Localhost for the name. - Enter the Service Host Port
This is the port of the Zedmed Forms service.
The port default is the port used by the Zedmed HealthLink Forms application, and any change to the port used will need to be reflected here. - Check the Zedmed Forms Service URL.
The Zedmed Forms Service URL will display a full URL that uses the information provided for the name and IP. - Check your Firewall.
If a firewall has been set up to block ports, you may need to open up the port you use for the Zedmed Forms Service. By default, this should be port 9803. You can see this port in the outlined section of the screenshot above. If the firewall is Windows Firewall, you will need to add a rule or modify an existing rule to allow the port.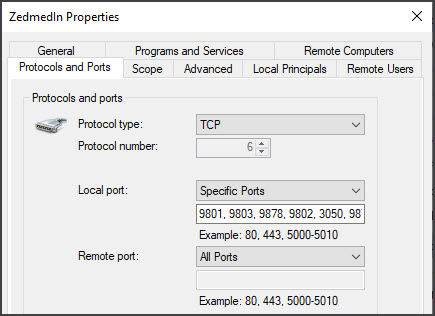
- Select Enable HealthLink SmartForms Integration.
- Select OK to save the changes.


Step 4 - Restart the Zedmed HealthLink Forms service
You now need to restart the Zedmed HealthLink Forms service:
- Open Windows Services.
You can do this by typing services into the Taskbar Run/Search field - Select the service Zedmed HealthLink Forms.
- Right-click the service and select Restart.
Once the service has restarted Zedmed HealthLink forms are ready to use.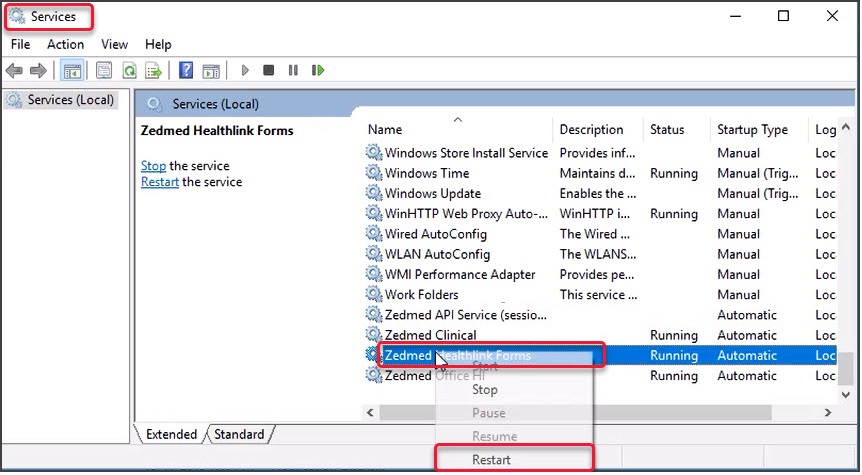

Advanced: Using a different Hostname or port
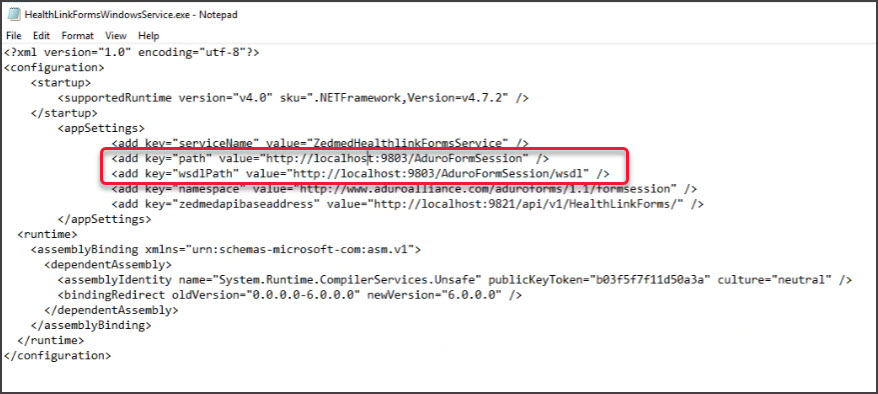
The Zedmed HealthLink Forms service uses port 9803 by default. If you want to use a different port, you will need to edit the Zedmed HealthLink Forms service configuration file.
To edit the Zedmed HealthLink Forms configuration file:
- Open the C:\Program Files (x86)\Zedmed\Zedmed HealthLink Forms folder.
- Open the HealthLinkFormsWindowsService.exe.config file in an editor like Notepad.
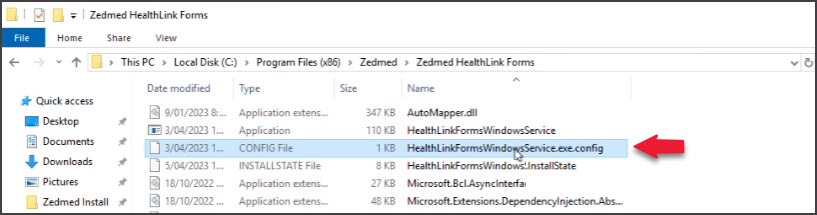
- Change the default port from the default 9803 shown in the screenshot below.


Advanced: HealthLink Client with multiple Zedmed sites
If your practice has a HealthLink Client setup for multiple Zedmed servers, the HealthLink config file that you import into Zedmed will have an entry for each Zedmed server's profile. Because the Import Configuration process can only read the first Zedmed profile in the hms.config.xml file, you need to make a copy for each Zedmed Server and remove the other Zedmed server profiles from the hms.config.xml before you import it.
To edit the hms.config.xml file:
- Locate the hms.config.xml file in the HealthLink Client installation (For example - C:\HLINK).
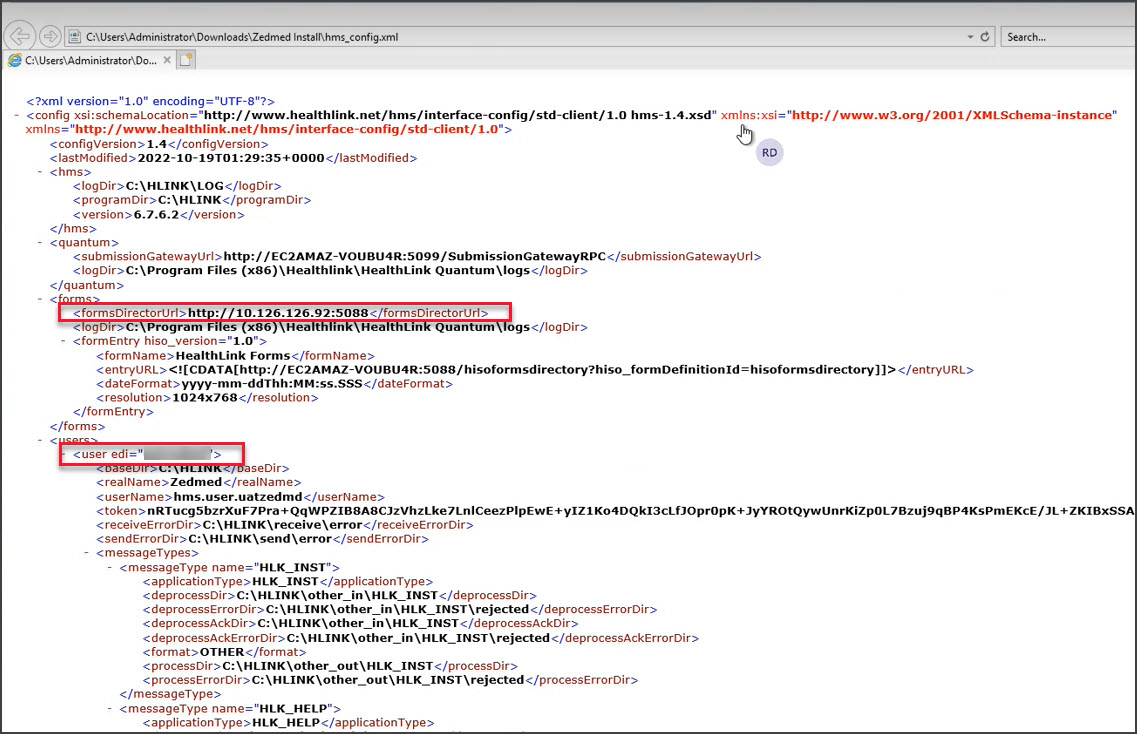
The screenshot below shows the URL where HealthLink's service is running and how HealthLink defines an account using a the EDI. Only remove the <user edi> profiles under <users> that do not apply to the Zedmed server that you are configuring.
Important: Do not change the hms.config.xml file. Only modify renamed copies of this file, which you will use to perform the configurations import config file step. - Make a copy with a logical name that uses the Zedmed servers EDI.
- Identify the <users> which will have a section for each EDI.
- Remove the EDI profiles and leave the EDI profile of the server you want to import the file into.
- Repeat this for each Zedmed installation.