Online Appointments (OLA) lets patients book appointments at any time with their preferred clinic and practitioner.
Book an online appointment
This guide steps first-time users through the process of booking their first appointment using Zedmed's Online Appointments. Existing users should log in first and follow the steps below - you will not be presented with steps 6 or 7.
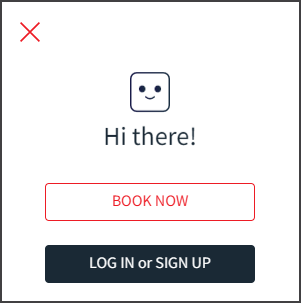
To start, select Book Now from the top right menu.
These steps follow the 'select a Clinic' workflow. You can also book by choosing a Doctor.
Note: Clinics may display notifications with booking requirements and prompts to provide payment card information.
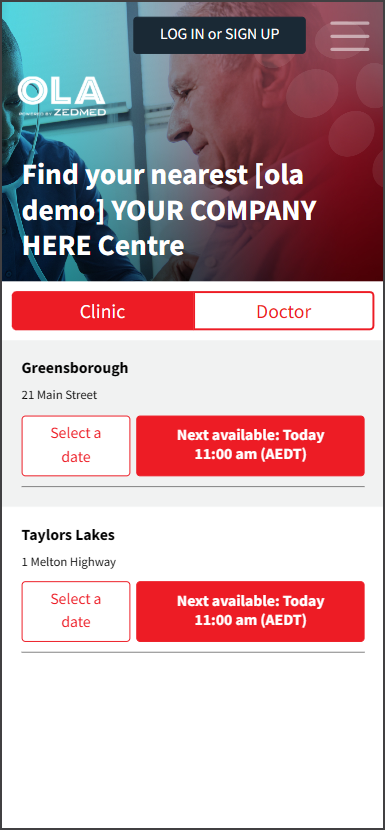
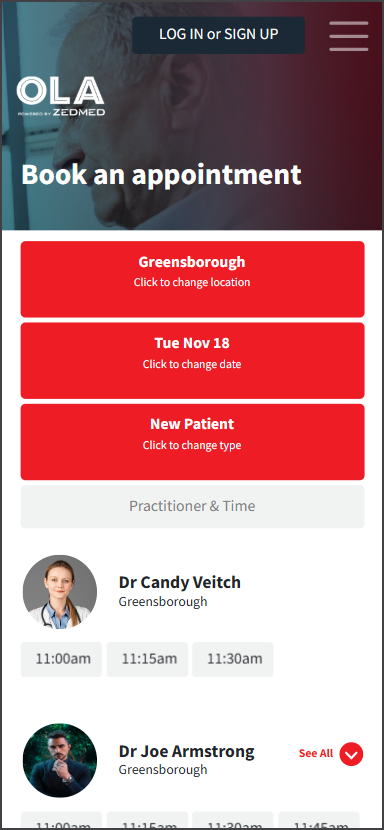
| 1. Find a Clinic & Select a date Or select Next available |
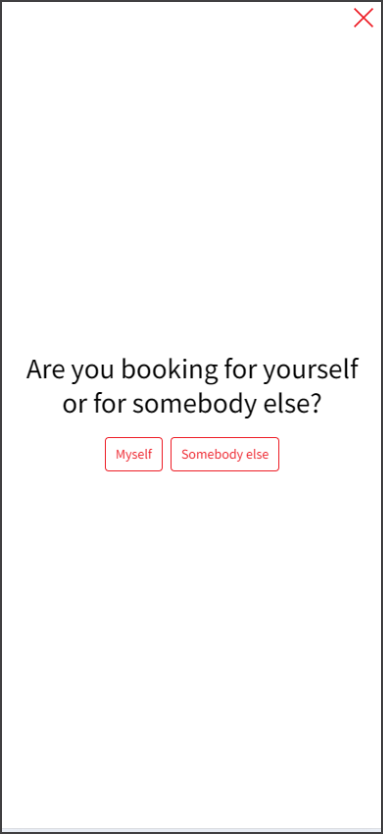
2. Select Myself For family tap 'Somebody else' |
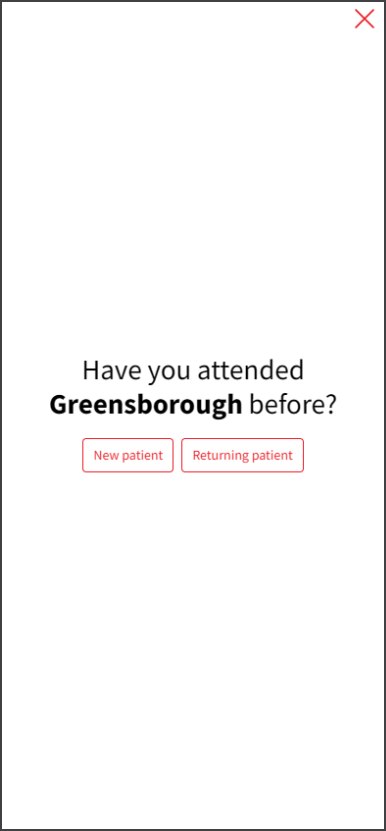
3. Select New patient Or Returning patient |
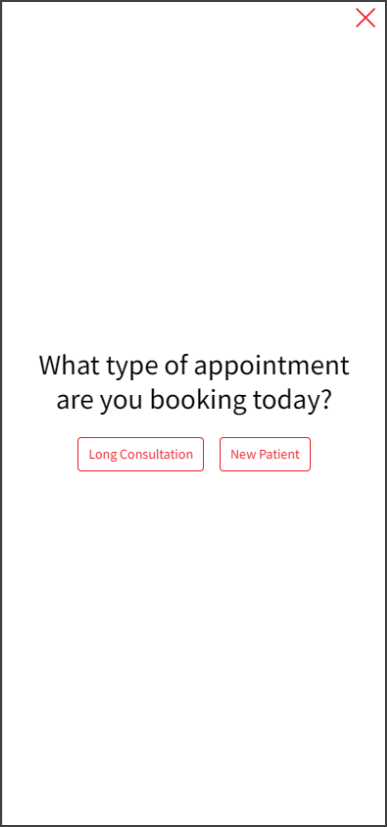
4. Select New Patient Options determined by clinic |
 |
 |
 |
 |
| 5. Select a Doctor and Time Scroll to see all options | 6. Enter account information Only for new patients |
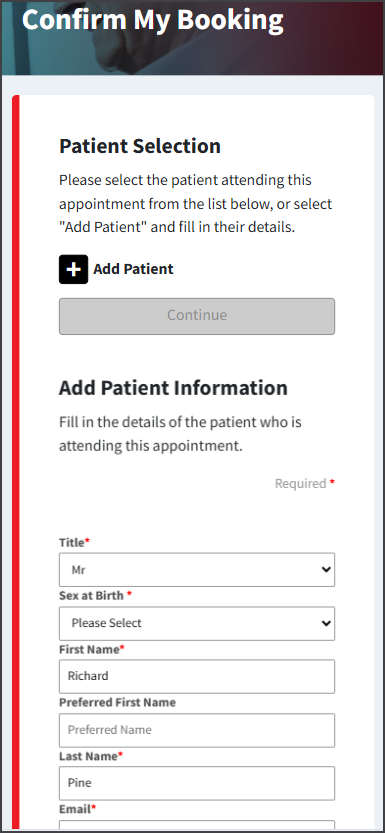
7. Select Add Patient Complete form - select Continue |
8. Appointment confirmed Check email for next steps |
 |
 |
 |
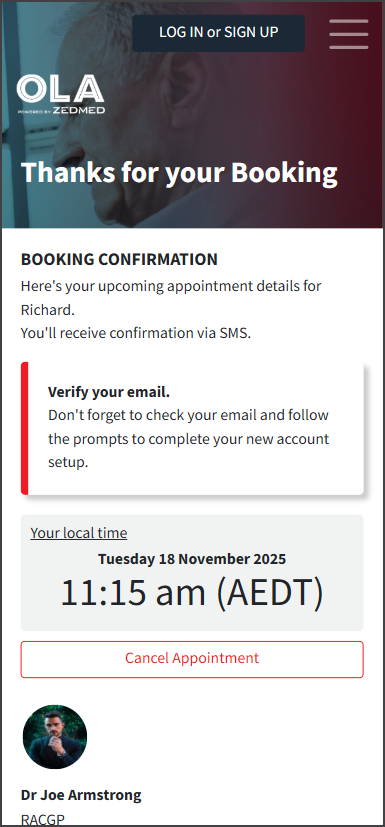 |
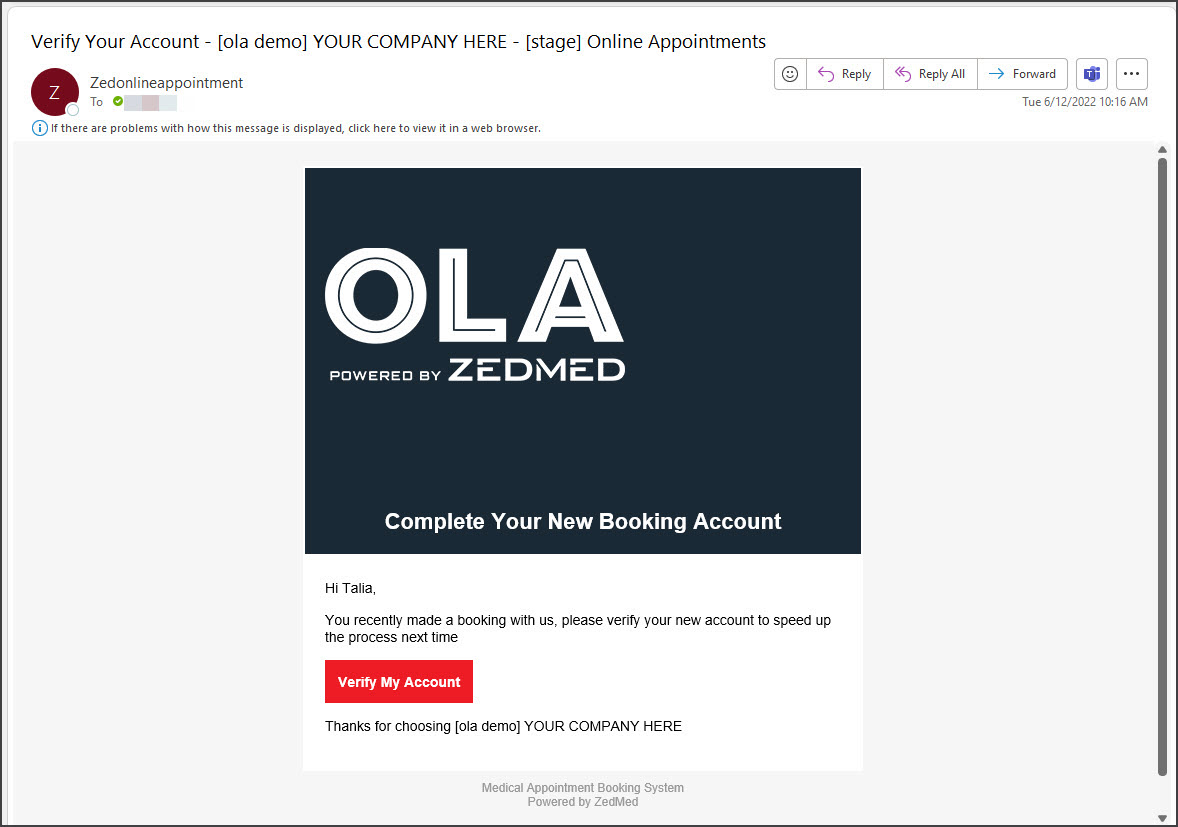
Zedmed will send an Email to the address provided to confirm your information and complete the creation of your account.
Finding a free appointment spot
You can locate a free appointment time with a Clinic or a Doctor via the Next available or the Select a Date (Calendar).
• Next available appointment marks the point where free appointments are available, and shows all free spots for that day.
• Select a Date button opens a calendar view, where you can select a later date (e.g later than the Next available date).

After completing the appointment questions, you can still open the Calendar to change the date using 'Click to change date'.
When answering the appointment questions, you can click the top-right 'x' to return to the date selection step.

Time Zone support
If you make an appointment with a clinic in a different time zone (e.g. telehealth), the time zone shown will be your own (the patient's). You can change to the practice time zone using the button below. Your appointment confirmation and reminders will also show the time zone you selected, e.g. AEDT. Requires Zedmed v37.8 or later)

What happens next?
- If the practice uses SMS, you will be sent an SMS confirmation.
- If this was your first booking, OLA will send an email to the address you provided after you make the appointment. Open your email client and click Verify My Account - then enter a password and select Save my password. Your account is now set up.

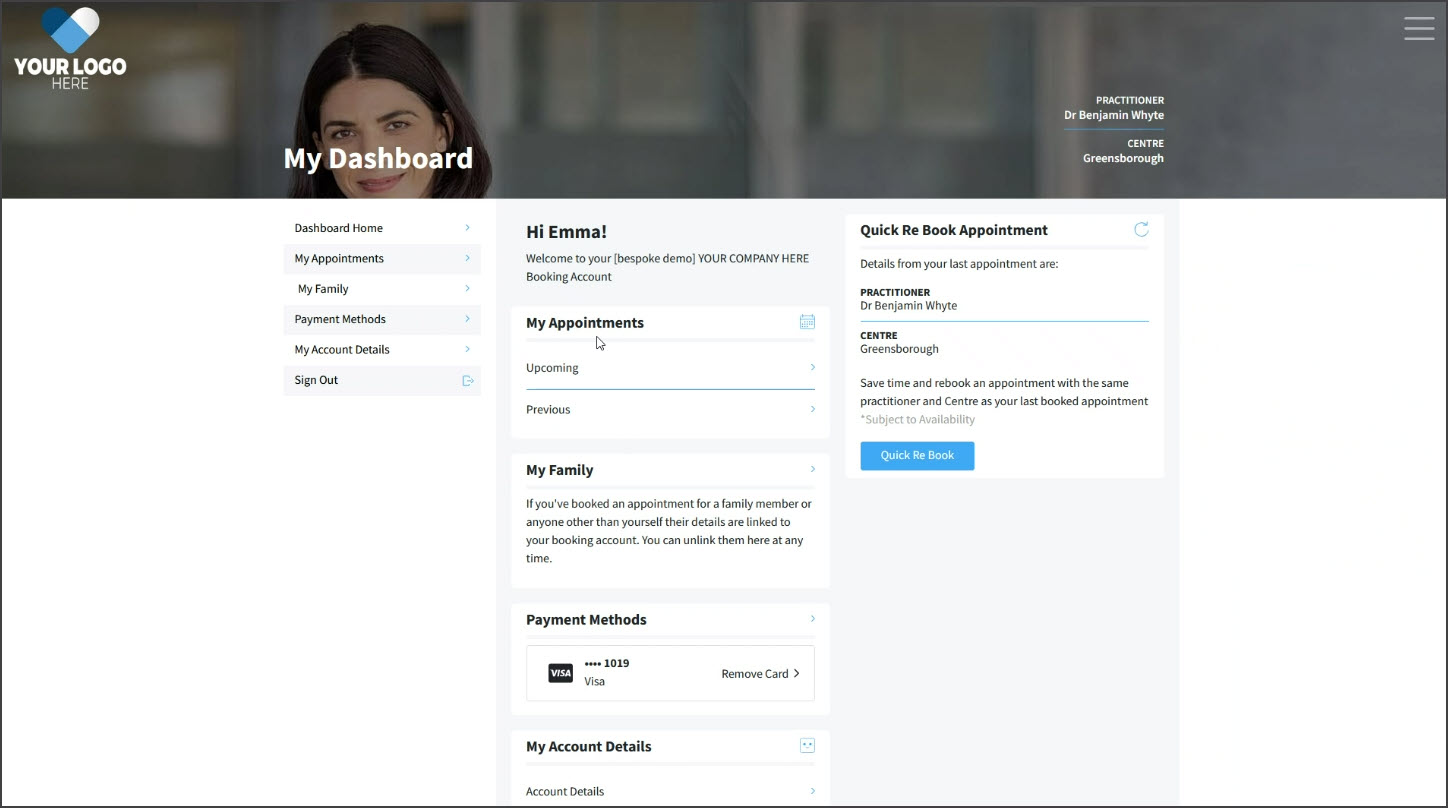
Manage your OLA account
Once you have created an account, you can make new bookings with a few clicks. Your past appointments are displayed under My Appointments and can be used to do a Quick Rebook. All family members under your account can be viewed and unlinked from My Family.
Family members

When you're logged in and you book an appointment for yourself or another person, these patient details will be linked to your booking account as a member of My Family. This allows you to select family members or people you care for when booking future appointments without having to re-enter their details.
If you have booked an appointment for yourself or another person previously, you'll see their names in the My Family section below. You can manage each member's payment details here or unlink them from your account.
Add a family member
You can add family members (for example, children) to your OLA account and make online bookings for them.
Log in to OLA and make a booking the same way you would for yourself, but:
- Select BOOK NOW from the main menu, then Select Appointment.
- Select Somebody else when asked if the appointment is for Myself or Somebody else.
- Select New Patient when asked, then New Patient for the appointment type.
- Select an appointment time.
- Select Add Patient
This will display the Add Patient details form to fill in.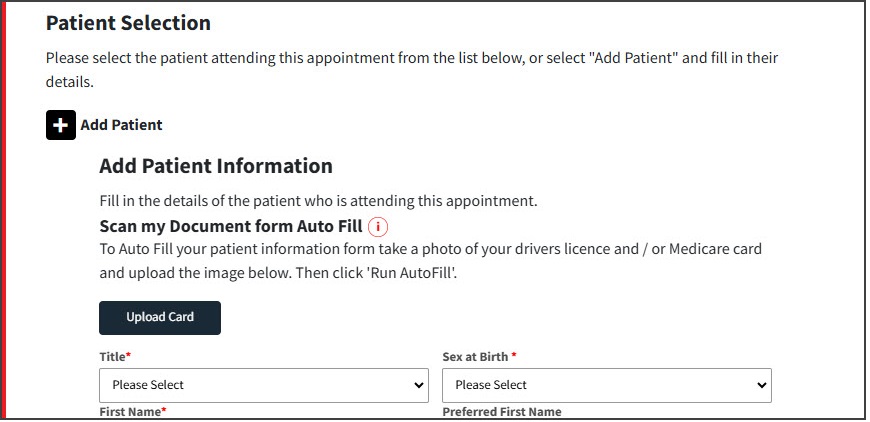 The booking will be confirmed.
The family member will be added to your OLA account on the My Family page.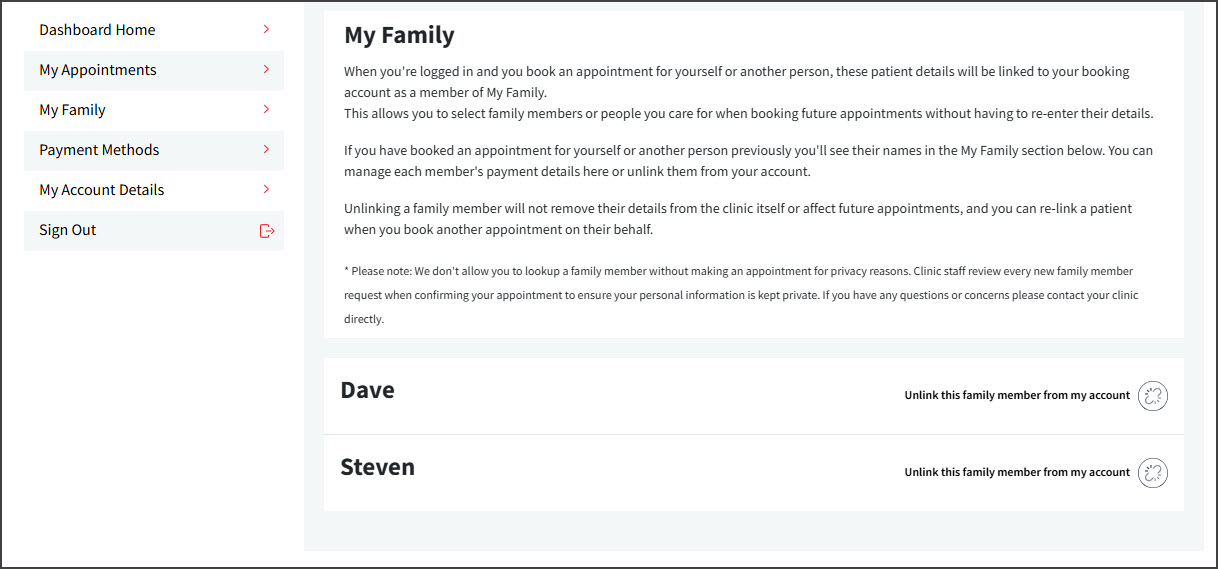
 The booking will be confirmed.
Remove a family member
Family members appear on the My Family page of your OLA account as shown below.
To remove a family member, select the unlink icon next to their name.


Unlinking a family member will not remove their details from the clinic itself or affect future appointments, and you can re-link a patient when you book another appointment on their behalf.
Please note: We don't allow you to lookup a family member without making an appointment for privacy reasons. Clinic staff review every new family member request when confirming your appointment to ensure your personal information is kept private. If you have any questions or concerns please contact your clinic directly.
Payment Card requests
Patients who use Zedmed's Online Appointments (OLA) can be prompted to provide a payment card when making the booking. The requirement can be enabled per practitioner and can exclude children, seniors and DVA and pension card holders. Once the card is recorded in Patient Details, they will not be prompted again.
- If a card is requested in OLA, it will be charged and then refunded $1 to verify its validity.
- Credit card information will be requested if your practitioner supports electronic payments.
- The credit card provided will be charged AFTER you have attended your consultation with the doctor.
- The practice may display an estimated payment amount when you provide your credit card information.
If you do not have a payment card recorded
The following steps will appear on the Complete My Booking screen after you select a time slot for the visit:
- Select Add Payment method
Enter your card information.
- Conditional: If there is a payment card exemption for concession card holders, a list of concession cards will display. Select any applicable card or None of the above.

- Complete the Add new card fields.
- Select Add Payment Method.
Provide payment card information or Cancel appointment.
• When the appointment is booked, the card will be charged then refunded $1.
• The credit card will not be charged until after the consultation.
- Continue and complete the OLA booking workflow.


If you have a payment card recorded
The following steps will appear on the Complete My Booking screen after you select a time slot for the visit:
- A Select payment method dialog will open.
Click on the payment card Or select Add another and enter the information for the payment card to be used.
Continue and complete the OLA booking workflow.
Note: If the appointment has no card requirement for a concession card holder, any previously added concession information will display.
