Change an existing schedule, for example, if you want to change the cycle duration or remove some sessions. This is done by creating a new schedule to take over from the existing schedule on a specified date. For one-off extensions to a schedule, see the Extend a schedule article.
Follow the steps below to copy the existing schedule and apply updates to the duplicate. This approach is recommended to preserve the integrity of your appointment history, which would be altered if the original schedule was modified.
- For a 7 or 14-day schedule, it is suggested that the start date of the new schedule is the Monday before the change, regardless of the day/s of the week the practitioner works. This would mean that the current schedule's end date would be the Sunday.
- For a 28-day schedule, we recommend starting the new schedule on week 1 so the new schedule has the same distribution of days across the month. For example, if a 28-day schedule starts on the 1st Monday of the month, you want the new schedule to do the same and not start in the middle of the month.
- In Office, open the Appointments Grid.
- Go to View on the top menu and select Setup > Schedules.
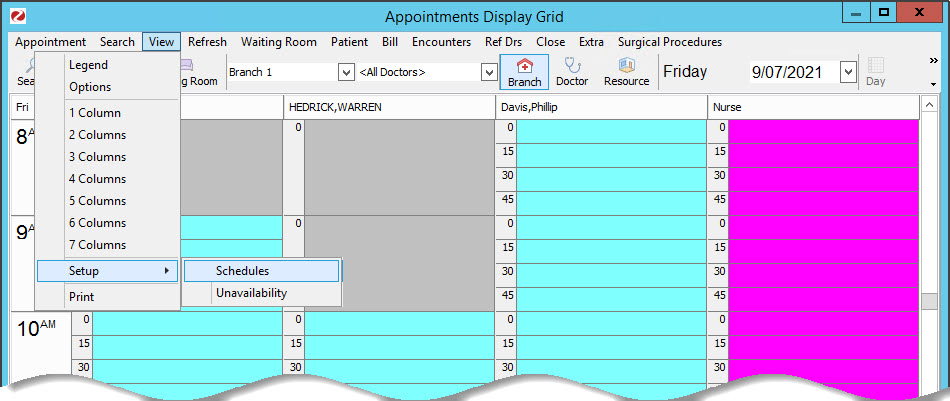 The Set Schedules for Doctor or Resource screen will open.
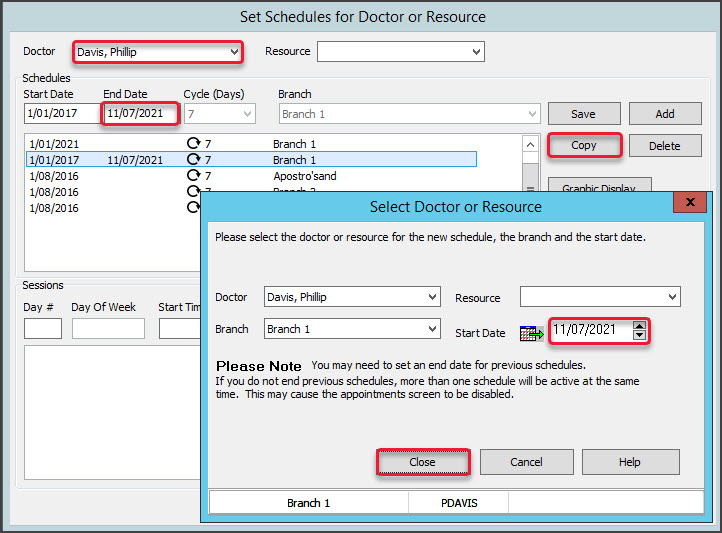
 - Select the Doctor or Resource you need to change the schedule for.
- Select the schedule to change.
The Cycle column shows the number of days in the schedule, and the Graphic Display button shows the Sessions in a visual format that is easy to understand when planning your changes. - In the End Date field, enter an end date and press Tab - remember to use the Sunday before the change as the end date.
- Select Copy.
The Select Doctor or Resource screen will open.
You will now set this copy of the current schedule to start the day after the old schedule ends (Monday) and make the required changes to the schedule. - In the Start Date field, enter a new date - the Monday on the week of the change .
- Select Close to save and exit.
 Now that you have a new schedule, you can make the required changes.
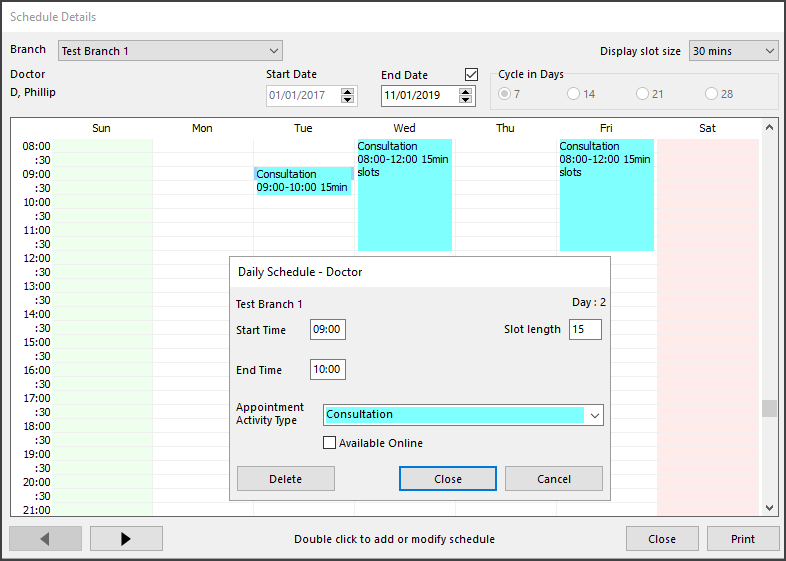
 - Select Graphic Display to view the Sessions.
- Right-click the new schedule and select Edit or use Copy to duplicate an existing Session to paste.
- Make the required changes to the schedule.
This could be adding, removing or changing the times of the current sessions or changing the Activity Type. - Select Close to save and exit.
-
Select Save and Check for Conflicts
-
After closing, the schedule rebuild dialog will display, select OK
 The Set Schedules for Doctor or Resource screen will open.
 Now that you have a new schedule, you can make the required changes.