Cannon Remote Capture allows Zedmed Cloud users to create custom folders where images can be saved, then imported into a patient's record. The images are imported in alphabetical order with the import time and date.
Setting up the capture folder
To create a practitioner-specifc folder:
- In Clinical, select Tools >My Options.
- In My options, locate Override image capture folder.
- Tick Override.
- Enter the folder name without spaces.
- Select OK to save and exit.

After a few minutes, this folder will appear in My Files.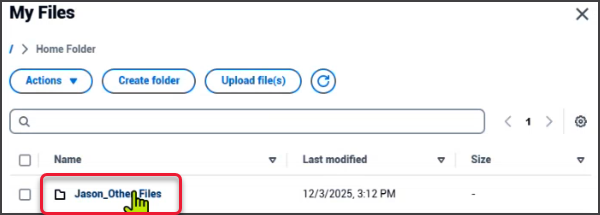


Using the capture folder
To save a patient's photos to their record using this folder:
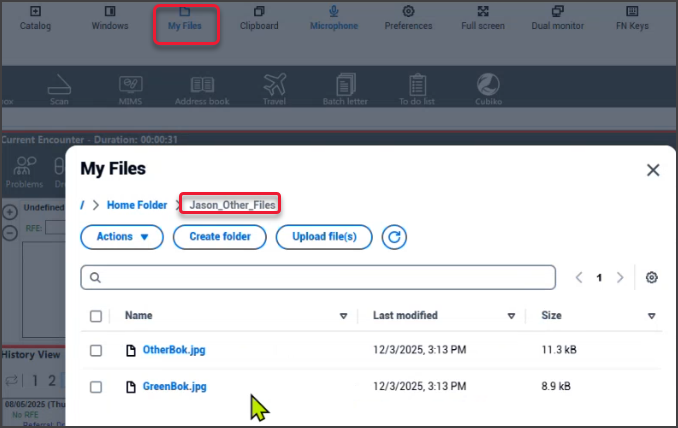
- Select My files, then upload or copy/paste the images into the folder you created during setup.
- Open the patient in Clinical and start the encounter.
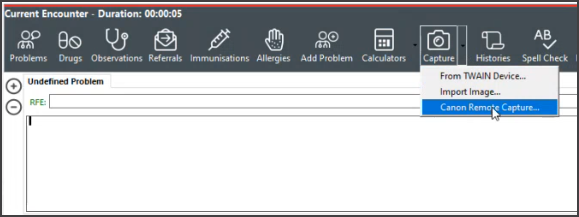
- Select Capture > Canon Remote Capture.
- The Canon Remote Capture folder will open, containing the files uploaded in step 1.
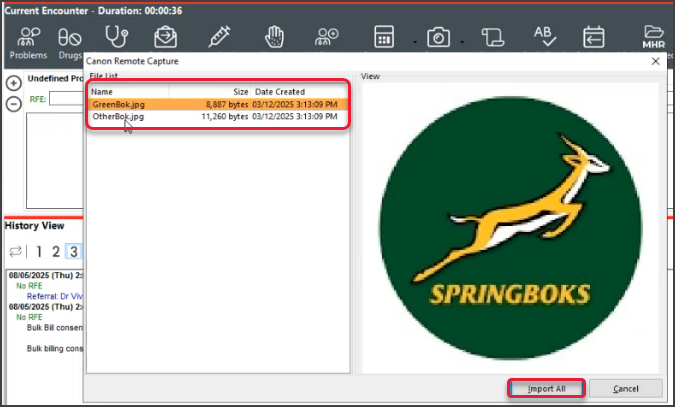
- Select Import All, and the images will be uploaded to the patient's record.
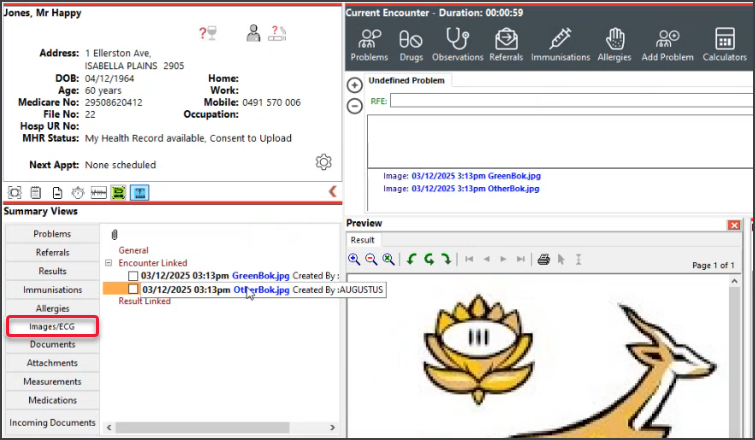
- Open Summary Views > Images/ECG to view the images.